Crochet Slouchy Beanie for Long Hair: Easy Adult Pattern
Crochet Slouchy Beanie for Long Hair
By Cherstina October 22, 2026
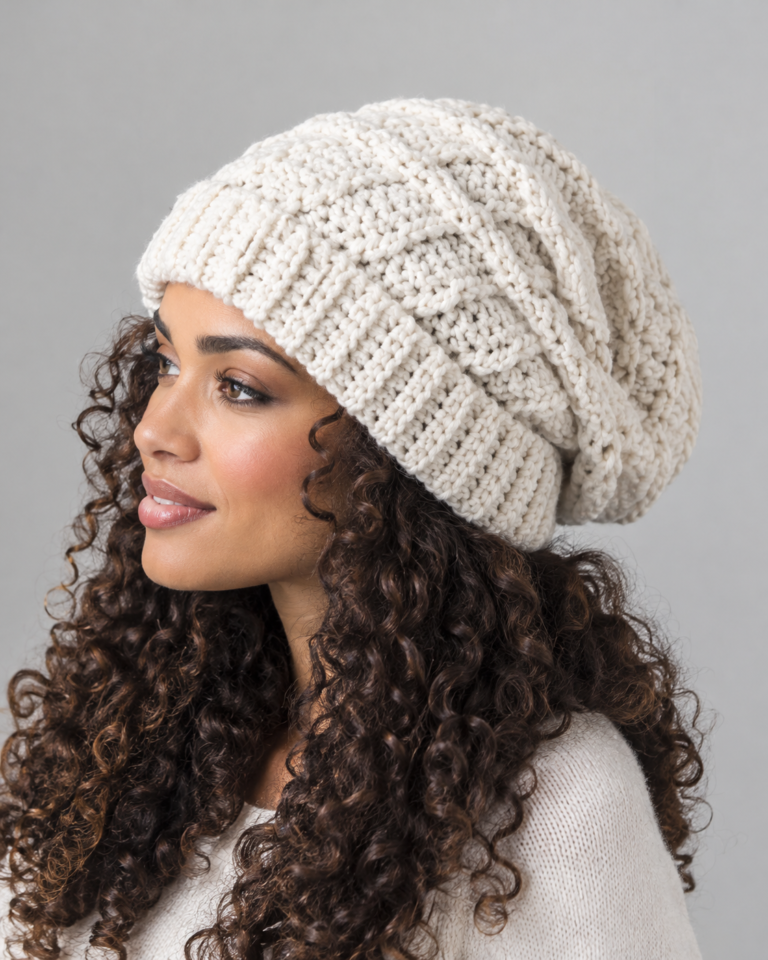
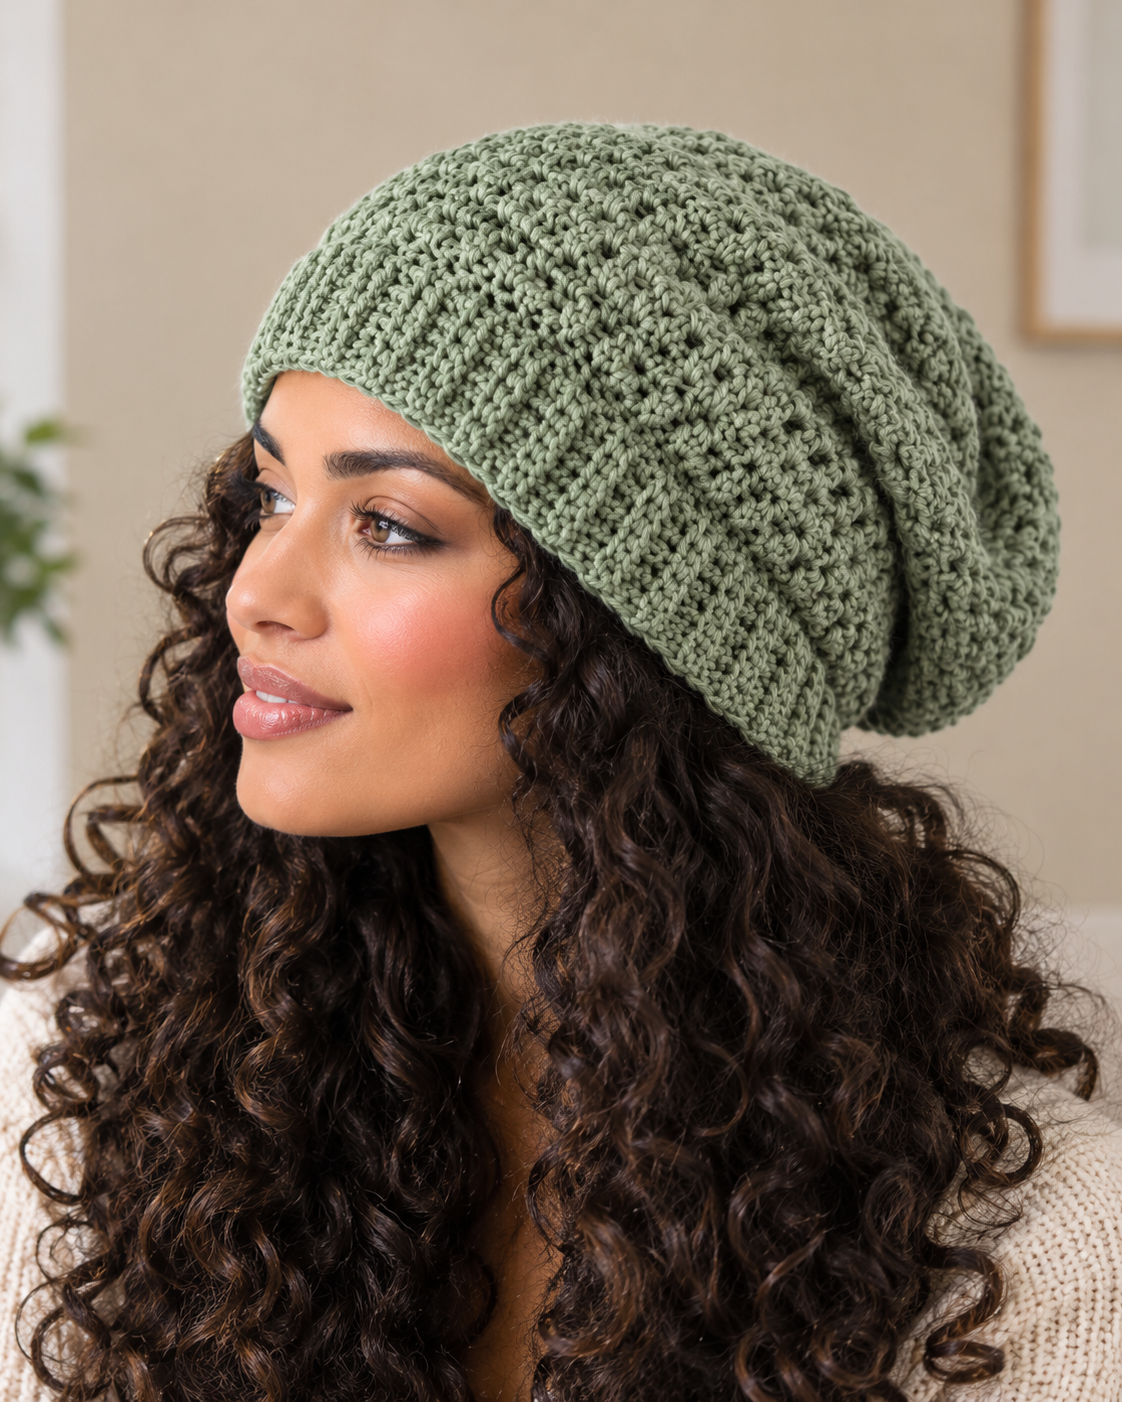
Looking for a crochet slouchy beanie for long hair that feels comfortable and has a relaxed, casual style? This easy adult crochet beanie features a rounded crown, a roomy body, and a simple finish that works well for everyday wear.
The hat is crocheted from the top down in joined rounds using basic half double crochet stitches. Its simple construction makes it a practical project for crocheters who want a classic slouchy look without complicated stitch patterns.
This pattern is designed around an adult medium size, with tips for adjusting the circumference and depth to accommodate different head sizes, curls, and braids.
If you need additional room for thick or voluminous hair, you may also enjoy our [crochet hat for big hair pattern].
Pattern Overview
| Pattern Detail | Information |
|---|---|
| Skill level | Beginner-friendly |
| Construction | Top-down, joined rounds |
| Hat style | Slouchy beanie |
| Intended size | Adult medium |
| Yarn weight | Medium weight, Category 4 |
| Crochet hook | 5.5 mm (I-9) |
| Main stitch | Half double crochet |
| Finished circumference | Approximately 21 inches (53.5 cm) |
| Finished depth | Approximately 9.5–10 inches (24–25.5 cm) |
| Crown diameter | Approximately 6.7 inches (17 cm) |
| Estimated yarn | 200–350 yards (183–320 meters) |
Materials You’ll Need
Gather the following supplies before starting your crochet slouchy beanie.
- Yarn: Medium-weight Category 4 worsted yarn.
- Yarn quantity: Approximately 200–350 yards (183–320 meters).
- Crochet hook: 5.5 mm (I-9), or the size needed to achieve the stated gauge.
- Stitch marker: One for identifying the beginning of each round.
- Measuring tape: For checking the crown, circumference, and depth.
- Scissors: For cutting the yarn.
- Tapestry needle: For weaving in the ends.
Choose a yarn with comfortable stretch and a texture you enjoy wearing. A smooth worsted-weight yarn makes the stitches easy to see, while a softer yarn can give the finished beanie a relaxed drape.
The amount of yarn you need will depend on your yarn choice, crochet tension, and desired hat depth.
Adult Hat Measurements
This pattern uses the following measurements as a guide for an adult medium beanie.
| Measurement | Target Size |
|---|---|
| Head circumference | 22–23 inches (56–58.5 cm) |
| Finished hat circumference | Approximately 21 inches (53.5 cm) |
| Crown diameter | Approximately 6.7 inches (17 cm) |
| Finished hat depth | 9.5–10 inches (24–25.5 cm) |
For the most comfortable fit, measure your head before beginning. If you plan to wear the beanie over thick curls, braids, or voluminous hair, take your measurement over your usual hairstyle.
A hat intended for loose hair may fit differently when worn over a fuller hairstyle. Adjust the finished circumference according to your measurements and how much stretch your chosen yarn provides.
Gauge and Crochet Abbreviations
Gauge
- 16 half double crochet stitches = 4 inches (10 cm).
- 10 rounds = 4 inches (10 cm).
Check your stitch gauge before starting. If you make more than 16 stitches across 4 inches, try a larger hook. If you make fewer stitches, try a smaller hook.
Matching the gauge helps you achieve a circumference and crown size closer to the intended measurements.
US Crochet Terms
- MR: Magic ring
- ch: Chain
- hdc: Half double crochet
- inc: Increase by working 2 hdc in the same stitch
- sl st: Slip stitch
- sc: Single crochet
- st(s): Stitch or stitches
Important: The beginning chain-1 does not count as a stitch. Join each round with a slip stitch to the first actual stitch unless otherwise indicated.
Crochet Slouchy Beanie for Long Hair Pattern
The beanie is worked from the crown downward in joined rounds. You will first increase the stitches to create a flat, rounded crown, then work even rounds to build the slouchy body.
Place a stitch marker in the first stitch of each round and move it as you progress.
Step 1: Create the Crown
Start with a magic ring.
Round 1: Ch 1, work 12 hdc into the magic ring. Join with a sl st to the first hdc. (12 sts)
Pull the ring closed to create the center of the crown.
Step 2: Increase the Crown
The next rounds gradually increase the number of stitches, allowing the crown to expand.
Round 2: Ch 1, work 2 hdc in each stitch around. Join. (24 sts)
Round 3: Ch 1, repeat the following sequence around: 2 hdc in the next stitch, 1 hdc in the next stitch. Join. (36 sts)
Round 4: Ch 1, repeat the following sequence around: 2 hdc in the next stitch, 1 hdc in each of the next 2 stitches. Join. (48 sts)
Round 5: Ch 1, repeat the following sequence around: 2 hdc in the next stitch, 1 hdc in each of the next 3 stitches. Join. (60 sts)
Round 6: Ch 1, repeat the following sequence around: 2 hdc in the next stitch, 1 hdc in each of the next 4 stitches. Join. (72 sts)
Round 7: Ch 1, repeat the following sequence around: 2 hdc in the next stitch, 1 hdc in each of the next 5 stitches. Join. (84 sts)
After Round 7, lay the crown flat and measure its diameter. The target is approximately 6.7 inches (17 cm).
The crown should lie relatively flat. If it begins to curl noticeably, check your gauge and tension before continuing.
Step 3: Crochet the Slouchy Body
Once the crown reaches the desired diameter, stop increasing. Working even rounds creates the depth and relaxed shape of the beanie.
Round 8: Ch 1, work 1 hdc in each stitch around. Join. (84 sts)
Round 9 and onward: Repeat Round 8, working 1 hdc in every stitch without increasing, until the hat reaches approximately 9.5–10 inches (24–25.5 cm) in total depth.
Measure from the center of the crown to the bottom edge as you work.
For a more relaxed, slouchy appearance, add a few extra even rounds. For a shorter beanie, stop earlier, making sure the hat still provides enough coverage for your preferred hairstyle.
Remember that additional body rounds increase the depth, not the circumference.
Step 4: Finish the Lower Edge
A simple single crochet border creates a neat finish around the bottom of the beanie.
Final round: Ch 1, work 1 sc in each stitch around. Join with a sl st to the first sc.
Fasten off and cut the yarn, leaving a tail long enough to weave in securely.
Using a tapestry needle, weave in all loose ends. Keep the lower edge comfortable and flexible rather than pulling the stitches too tightly.
Step 5: Check the Fit
Try on the finished beanie over the hairstyle you plan to wear it with.
Check that the crown sits comfortably and that the body provides enough room without slipping excessively.
Use these adjustments if needed:
- Too tight: Increase the finished circumference in your next version or use a hook that gives you a slightly larger gauge.
- Too loose: Reduce the finished circumference or adjust your gauge.
- Not slouchy enough: Add more even rounds to increase the depth.
- Too long: Remove a few body rounds.
- Not enough room for braids or curls: Measure over your usual hairstyle and choose a larger finished circumference if necessary.
For a comfortable fit, consider both the size of your head and the volume of your hair.
How to Adjust the Beanie Size
You can customize the pattern to suit different adult head sizes and hairstyles.
Adjusting the Circumference
Measure your head or hairstyle at the widest point where the beanie will sit. Compare this measurement with the intended finished hat circumference.
At the stated gauge of 16 hdc per 4 inches, you will make approximately 4 stitches per inch.
Use this formula as a starting point:
Desired finished circumference × 4 = approximate stitch count.
For example, a finished circumference of 22 inches corresponds to approximately 88 stitches at this gauge.
The hat’s stretch and the type of hairstyle you want to accommodate will affect the best fit. When changing sizes, distribute increases evenly and check that the crown remains reasonably flat.
Adjusting the Crown
The crown diameter determines how much room the top of the beanie provides.
To estimate the diameter for a desired circumference, divide the circumference by 3.14.
For example, a circumference of 21 inches corresponds to a crown diameter of approximately 6.7 inches.
Measure the crown flat before moving on to the body. This helps you make size adjustments before the hat becomes too deep to modify comfortably.
Adjusting the Depth
The body is the easiest part of the pattern to customize.
- For a classic beanie shape, use fewer even rounds.
- For a relaxed slouchy style, continue working even rounds.
- For extra room over braids or voluminous curls, adjust both the circumference and depth to suit your hairstyle.
Adding length alone will not make a narrow beanie wider.
Tips for the Best Results
1. Check Your Gauge
Gauge affects the circumference, crown diameter, and amount of yarn used. Adjust your hook size if your stitches are noticeably tighter or looser than the stated gauge.
2. Use a Stitch Marker
Joined rounds can make it easy to lose track of the first stitch. Moving your stitch marker at the beginning of every round helps you maintain the correct stitch count.
3. Count Your Stitches
The crown increases by 12 stitches per round, reaching 84 stitches at the end of Round 7. Check your count after each increase round to prevent an uneven crown.
4. Measure as You Crochet
Do not rely on round counts alone. Yarn thickness, tension, and hook size can change the finished dimensions.
5. Choose Yarn for Comfort
A soft, flexible yarn can make the hat more comfortable for everyday wear. Consider how the yarn feels against your skin and how well it maintains the slouchy shape.
6. Plan for Your Hairstyle
If you wear your hair in thick braids, curls, or twists, measure over that hairstyle rather than measuring only your head. This helps you choose a more suitable circumference.
Frequently Asked Questions
How much yarn does an adult slouchy beanie need?
Plan for approximately 200–350 yards (183–320 meters) of medium-weight Category 4 yarn. The amount depends on your yarn, tension, and finished hat size.
What crochet hook size should I use?
Start with a 5.5 mm (I-9) crochet hook. Adjust the size if necessary to achieve the stated gauge of 16 hdc stitches and 10 rounds per 4 inches.
How do I make the beanie more slouchy?
Continue working additional rounds of half double crochet without increasing after completing the crown. More even rounds add depth and create a looser, slouchier silhouette.
Can I wear this crochet beanie with braids?
Yes. Choose a circumference and depth that comfortably accommodate your braids. Measure over your usual hairstyle and adjust the pattern to provide enough room.
How do I make the beanie fit thick or curly hair?
Measure your hairstyle at the point where the beanie will sit. You may need a larger circumference than the adult medium size. Also consider the depth needed to cover your hair comfortably.
Can a beginner crochet this slouchy beanie?
Yes. The pattern uses basic stitches, simple increases, and joined rounds. Beginners who know how to make a half double crochet and work in the round can follow the steps.
How do I stop the crown from curling?
Check your stitch count and gauge. Make sure the increases are distributed evenly and that your tension is not too tight. A crown that does not lie flat may need an adjustment to the hook size or increase pattern.
Final Thoughts
This crochet slouchy beanie for long hair is a versatile adult hat pattern with a rounded crown, a simple half double crochet body, and an easy single crochet edge.
By checking your gauge, measuring the crown, and adjusting the circumference and depth, you can create a beanie that suits your preferred style and hairstyle.
Whether you wear it with loose curls, braids, or everyday casual outfits, this slouchy crochet hat is a useful addition to your handmade wardrobe.
For more ideas, explore our website and discover another style designed with extra room in mind.